This was one of the first projects that made me become involved on the activities of the IEEE Student Branch from the ETSIT UPM during my first years. It allowed me to get my first experience handling my own mini project from scratch. It has passed a long time since this project was done, but; I think it is good to remember my time during a member of the Student Branch at ETSIT.
The problem that we had to handle at that time was to design a new Dance Dance Revolution (DDR) mat. This was due to the fact that the previous working version was permanently damaged because of extreme use, so; the branch was looking for people to come up with a solution.
In my case, surfing through the internet we managed to find an interesting post which contained a brief description of their experience building this kind of device. Luckily they had also information on how to build one and a good guide here.
The first thing was to gather all the materials specified on the material list on the guide and get hands to work! Next, we decided to see which materials we could reuse from the previous dance pad.In this case the wood base and the metal scraps were okay. Also the big springs of the previous board could be reused.
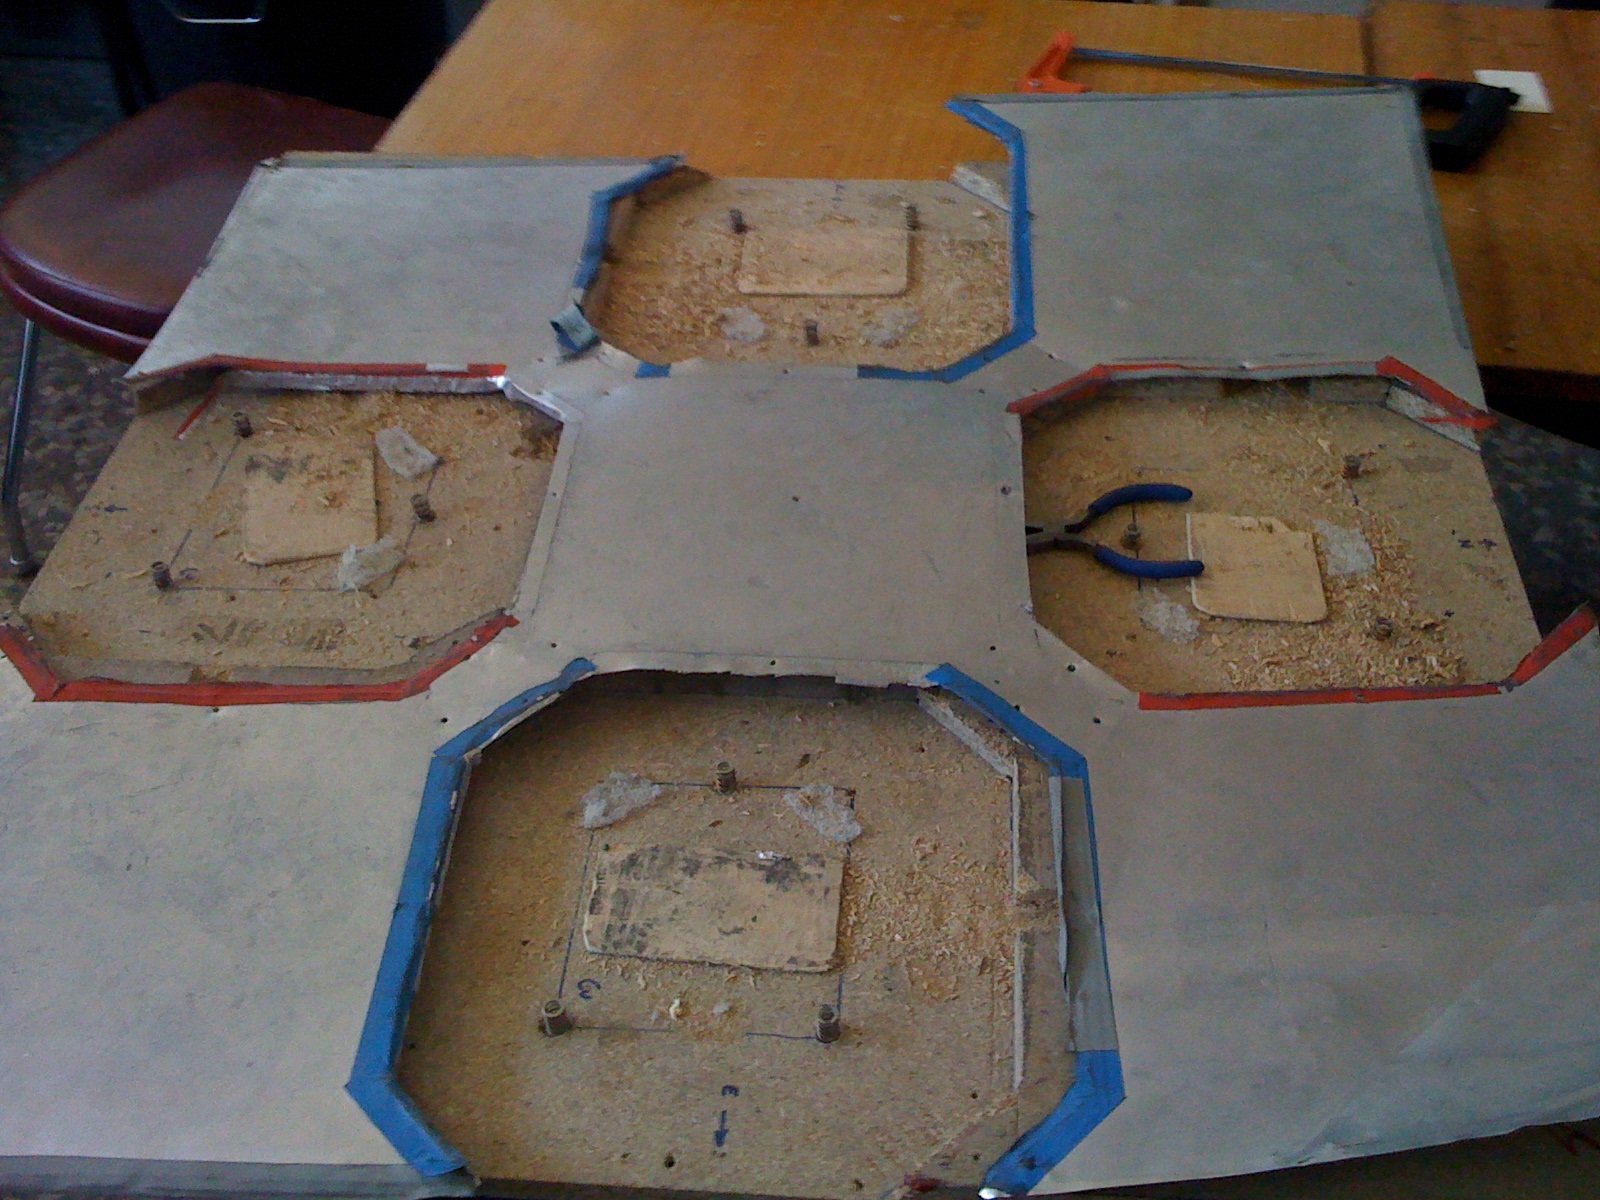
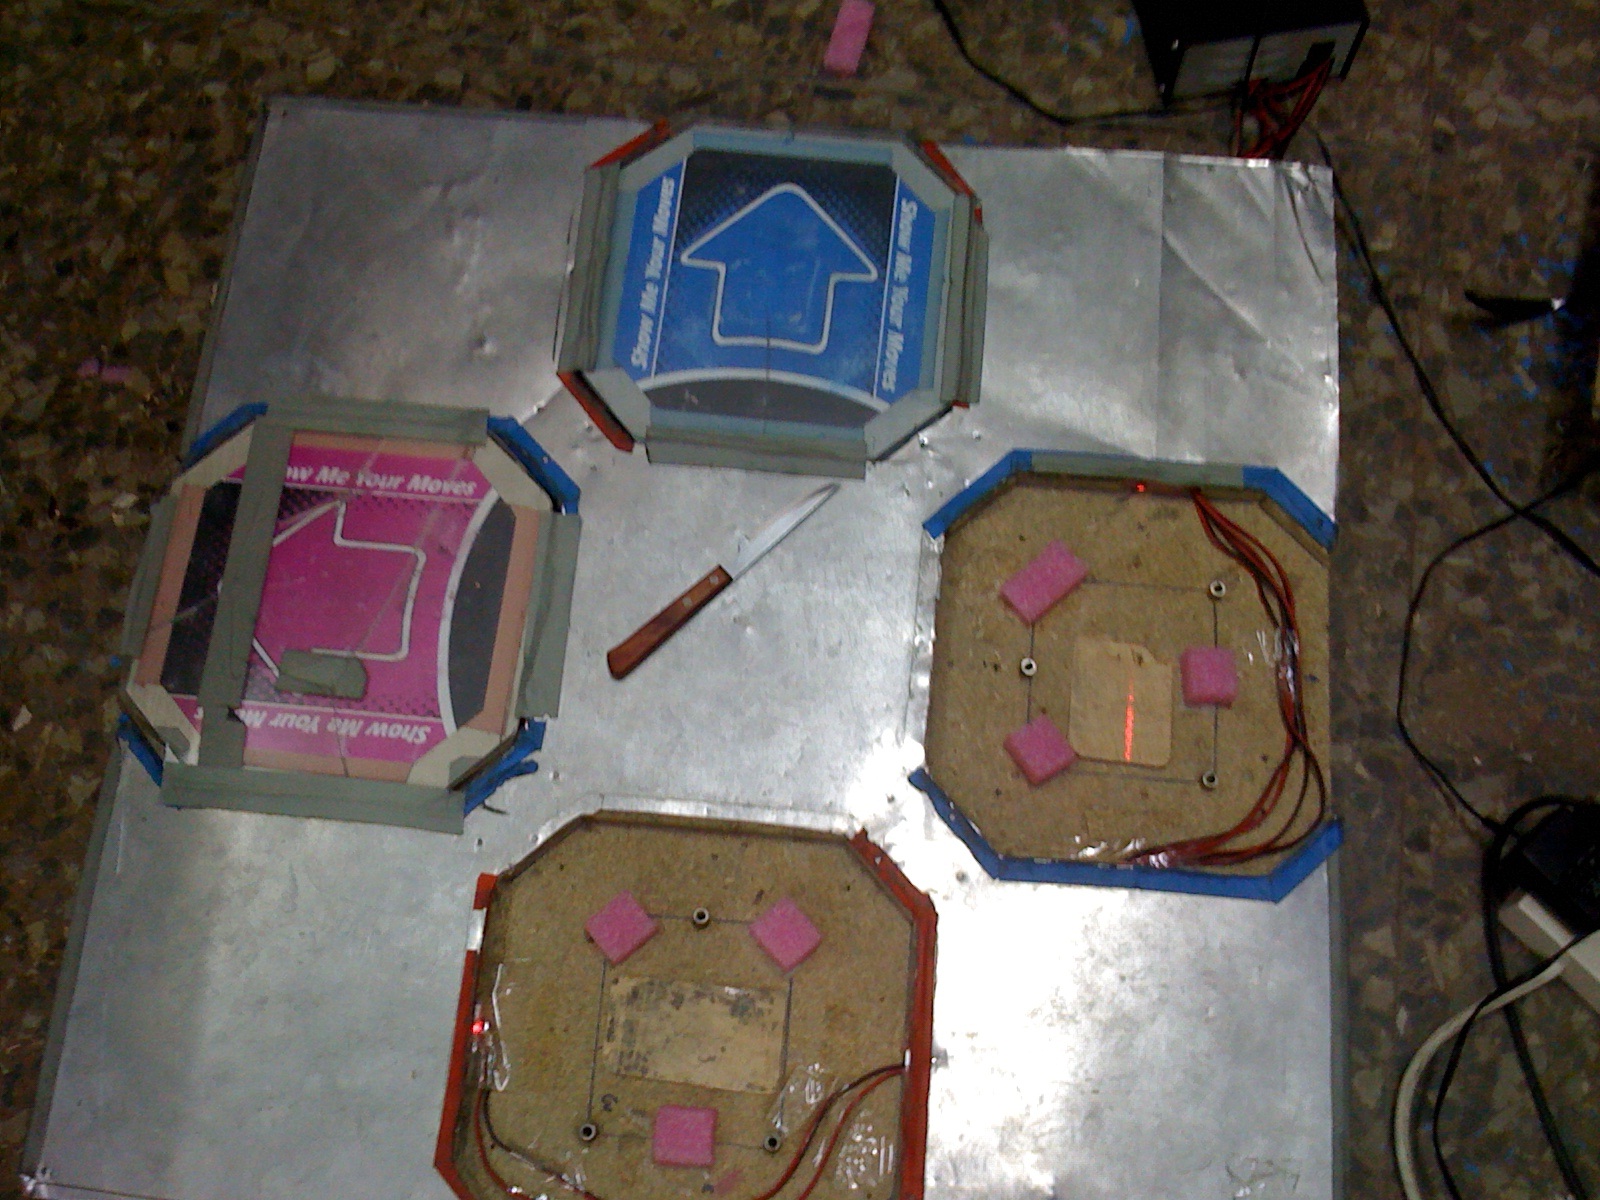
Let's move to some dirty hands work making the paths for the lasers, we lacked the correct tools so as good engineers in action, we grabbed the best tool available during that day. It took a lot of effort but we did manage to do the paths for the lasers and the wires. This is how it looked so far.
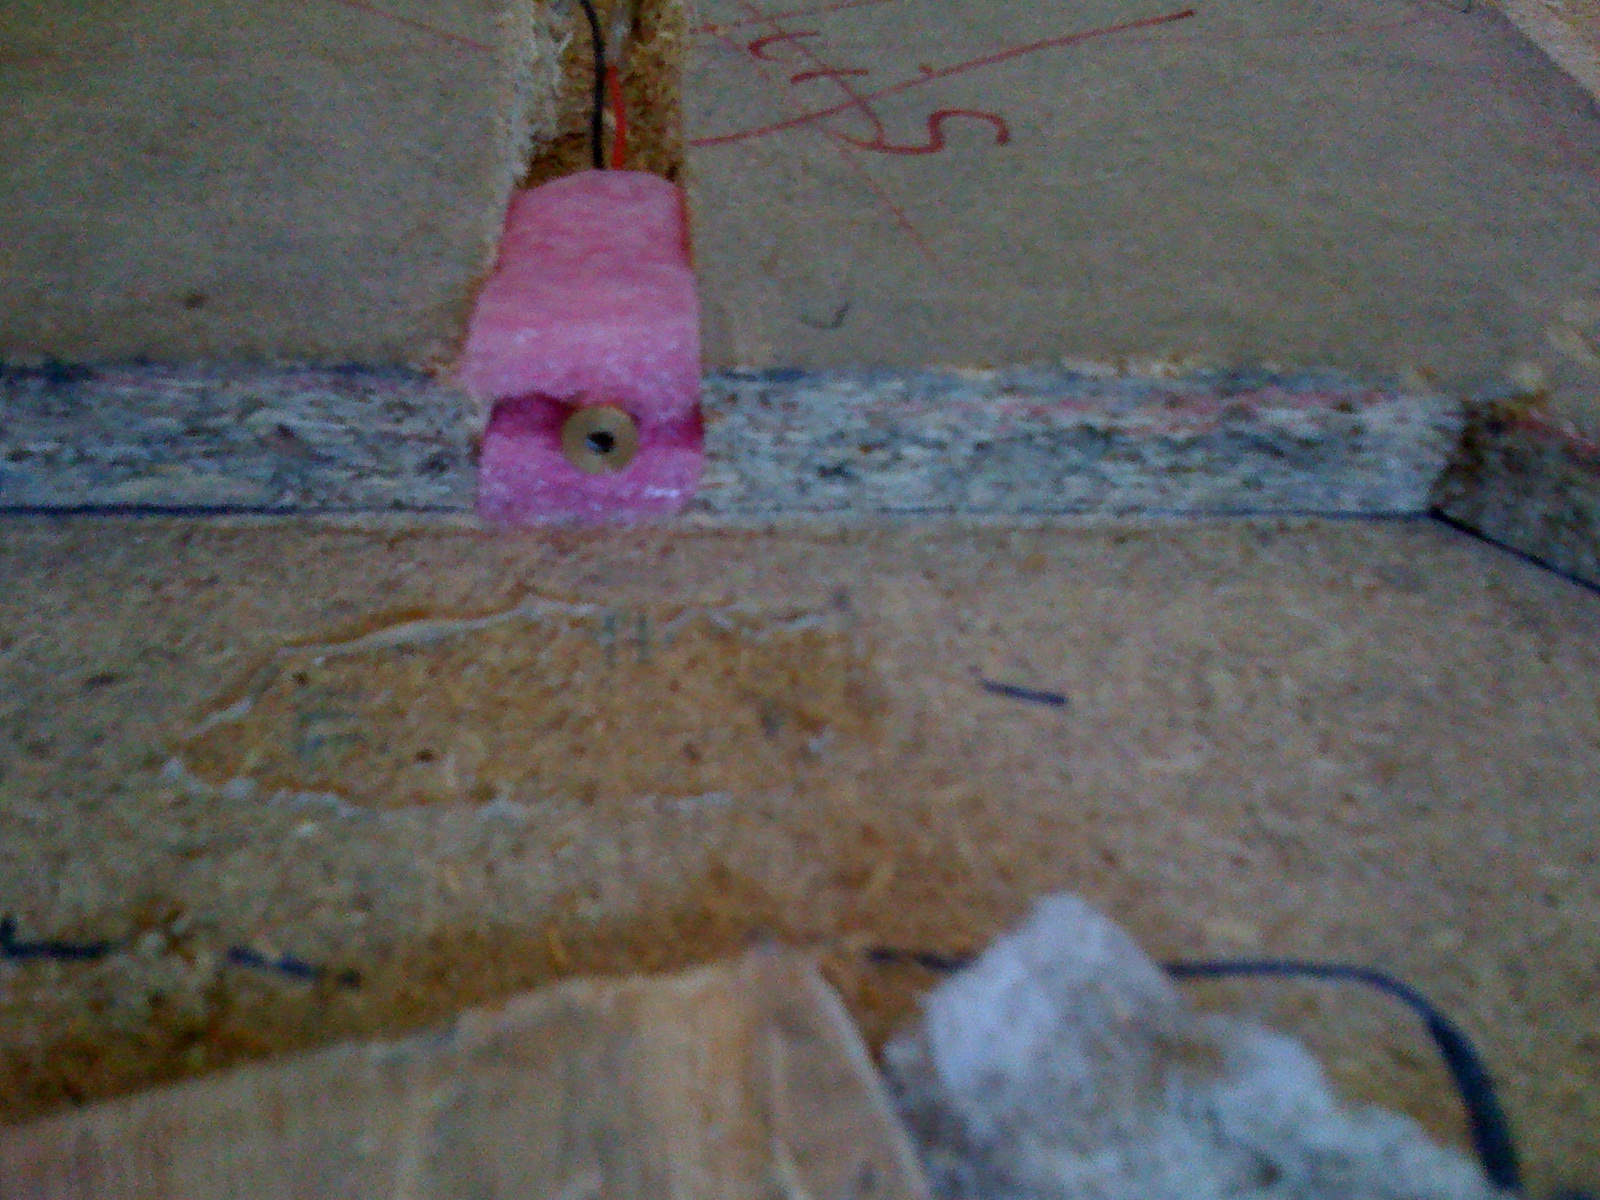
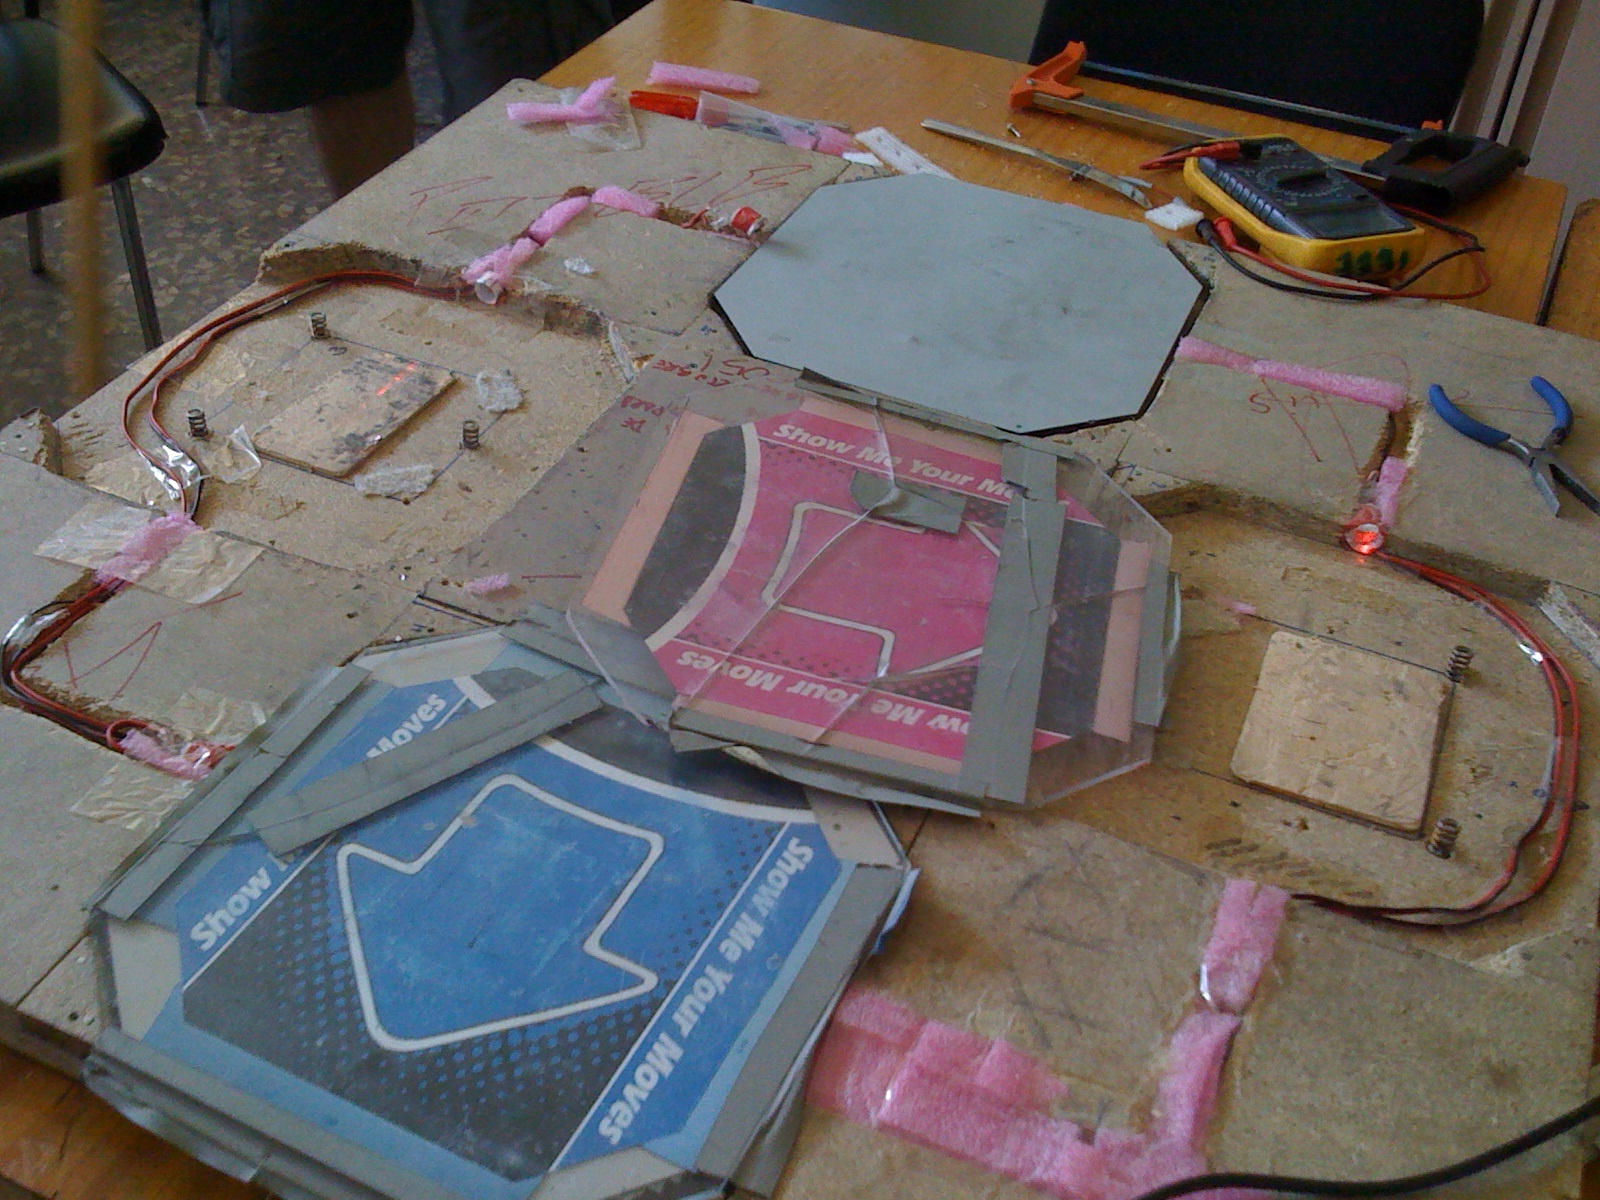
One laser on it place, 7 to go! It took a long time, after a couple of wirings this is how the big picture looked like.
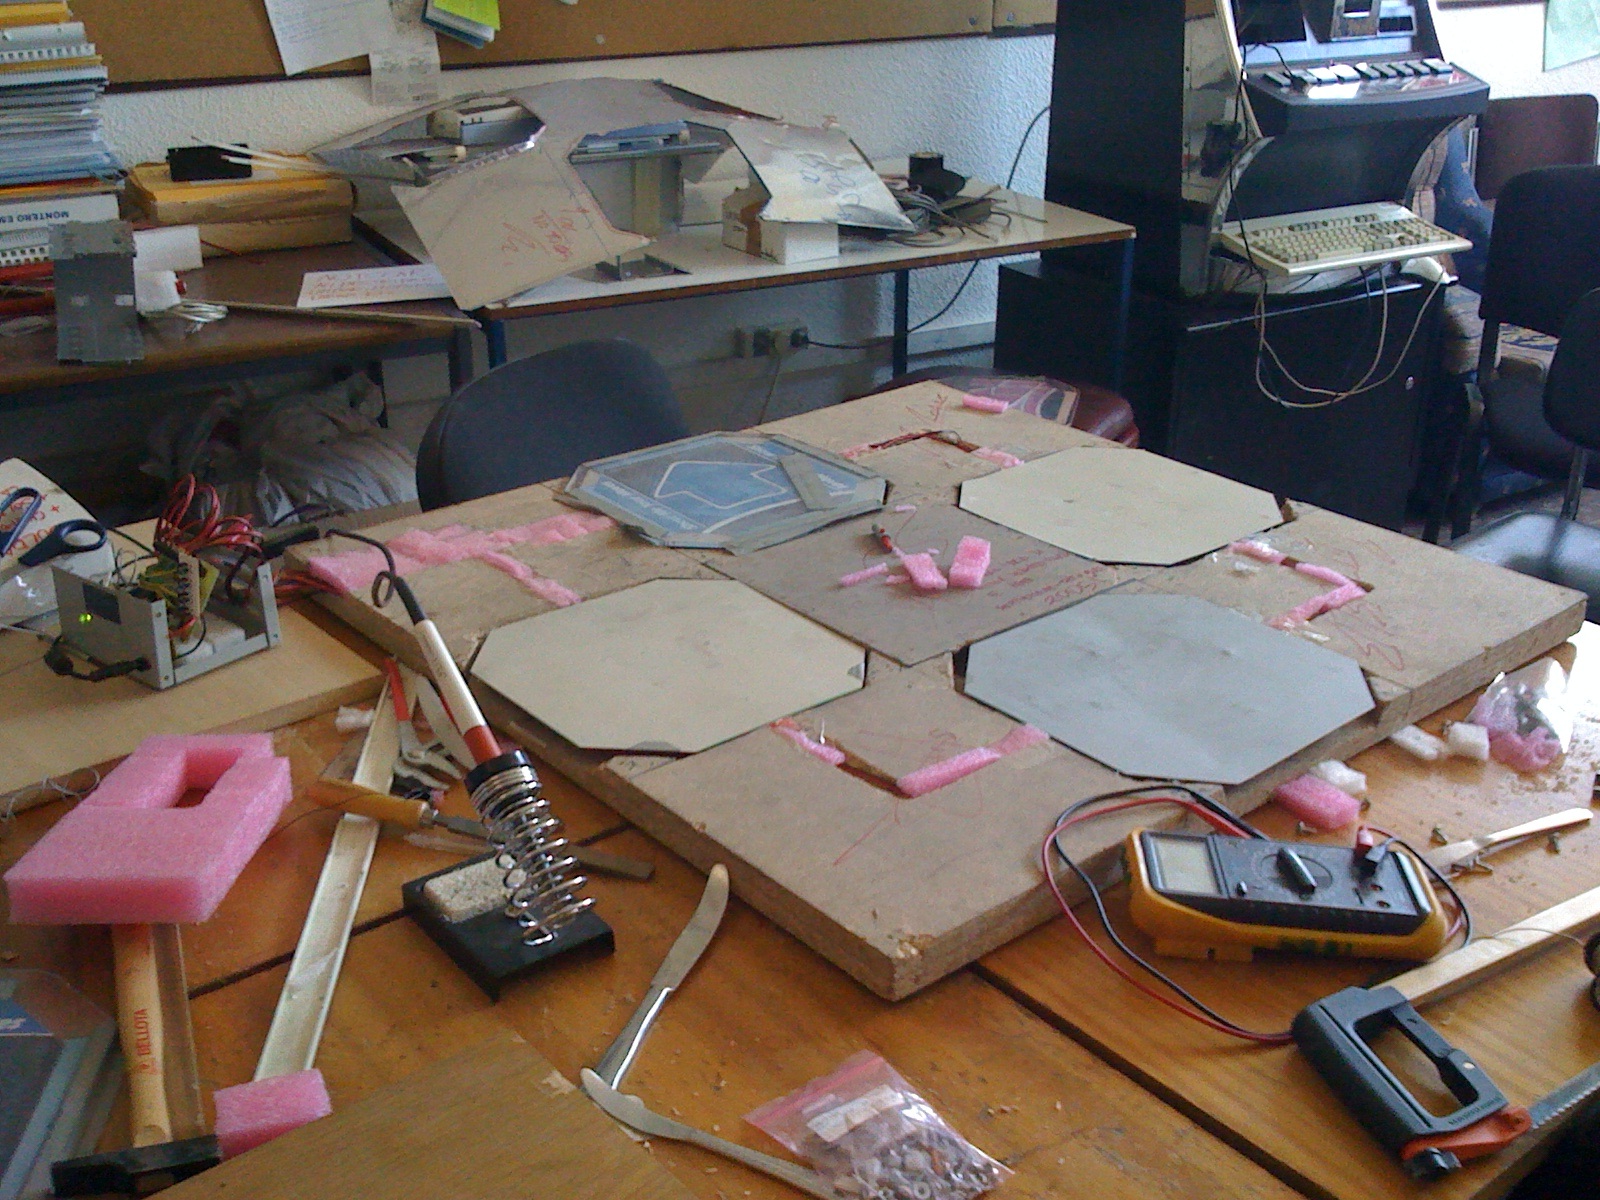
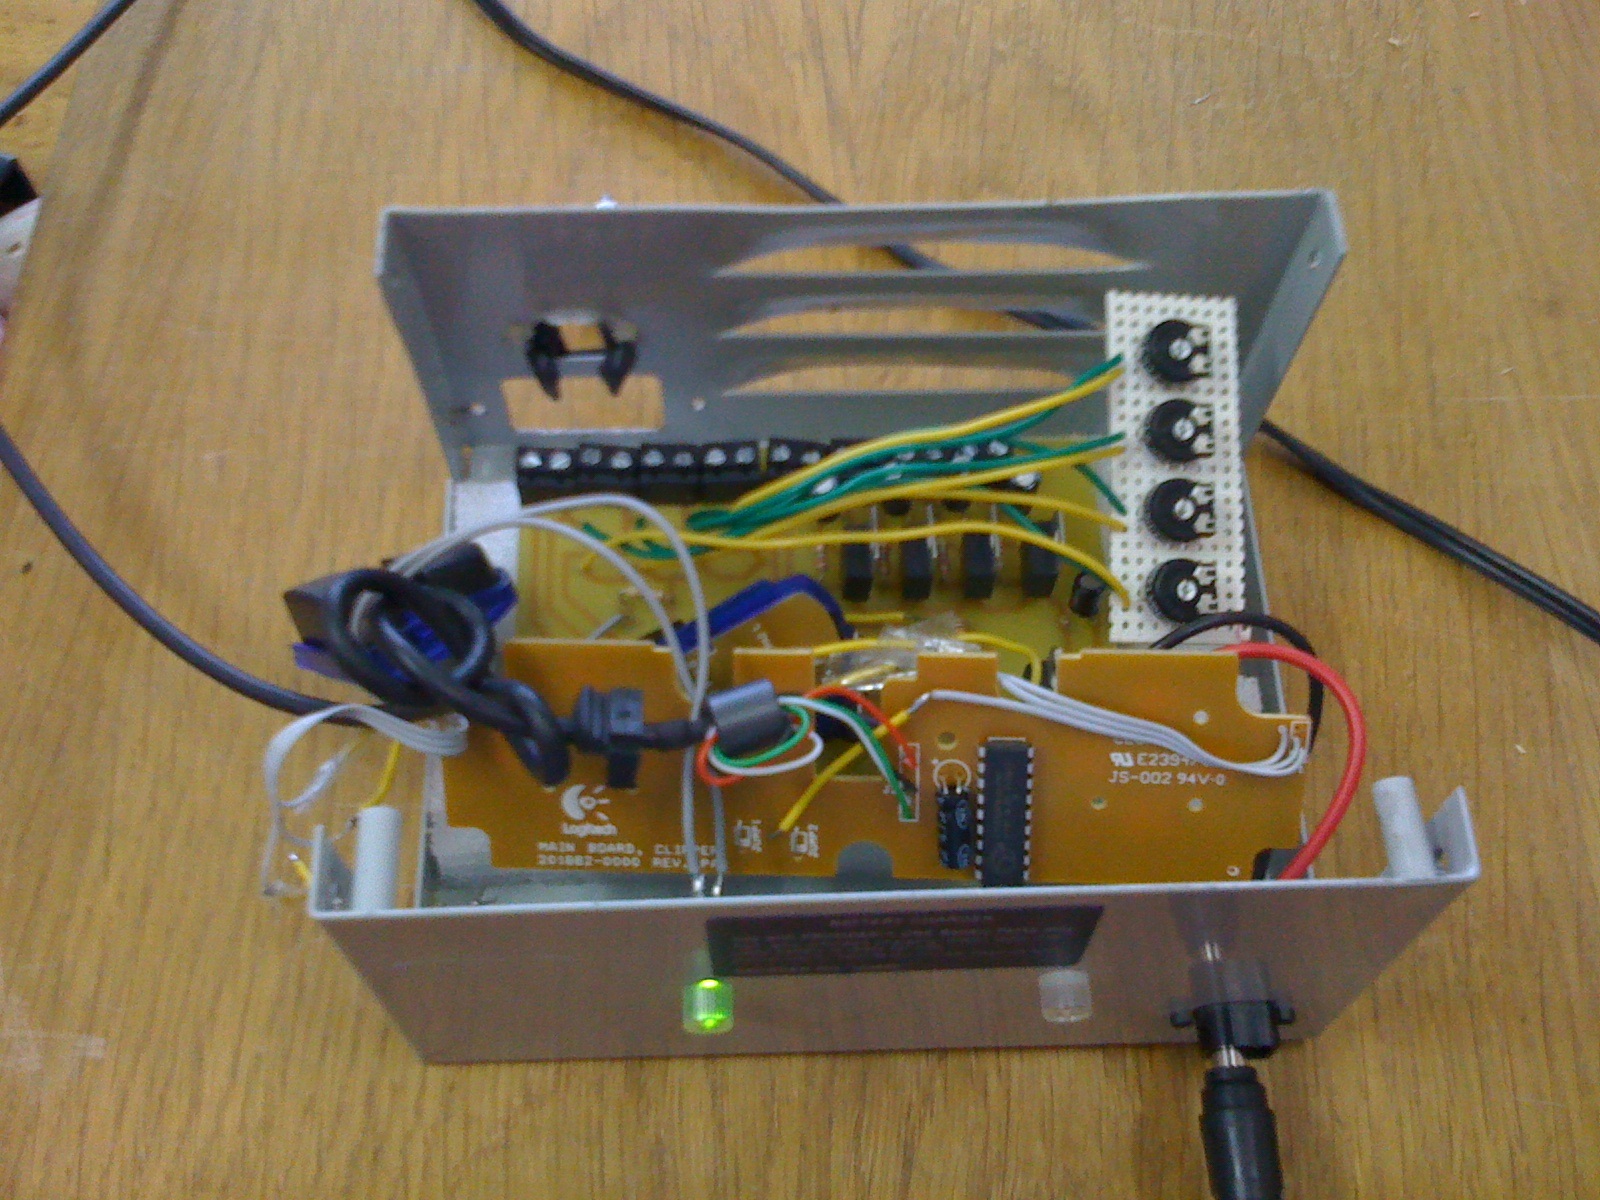
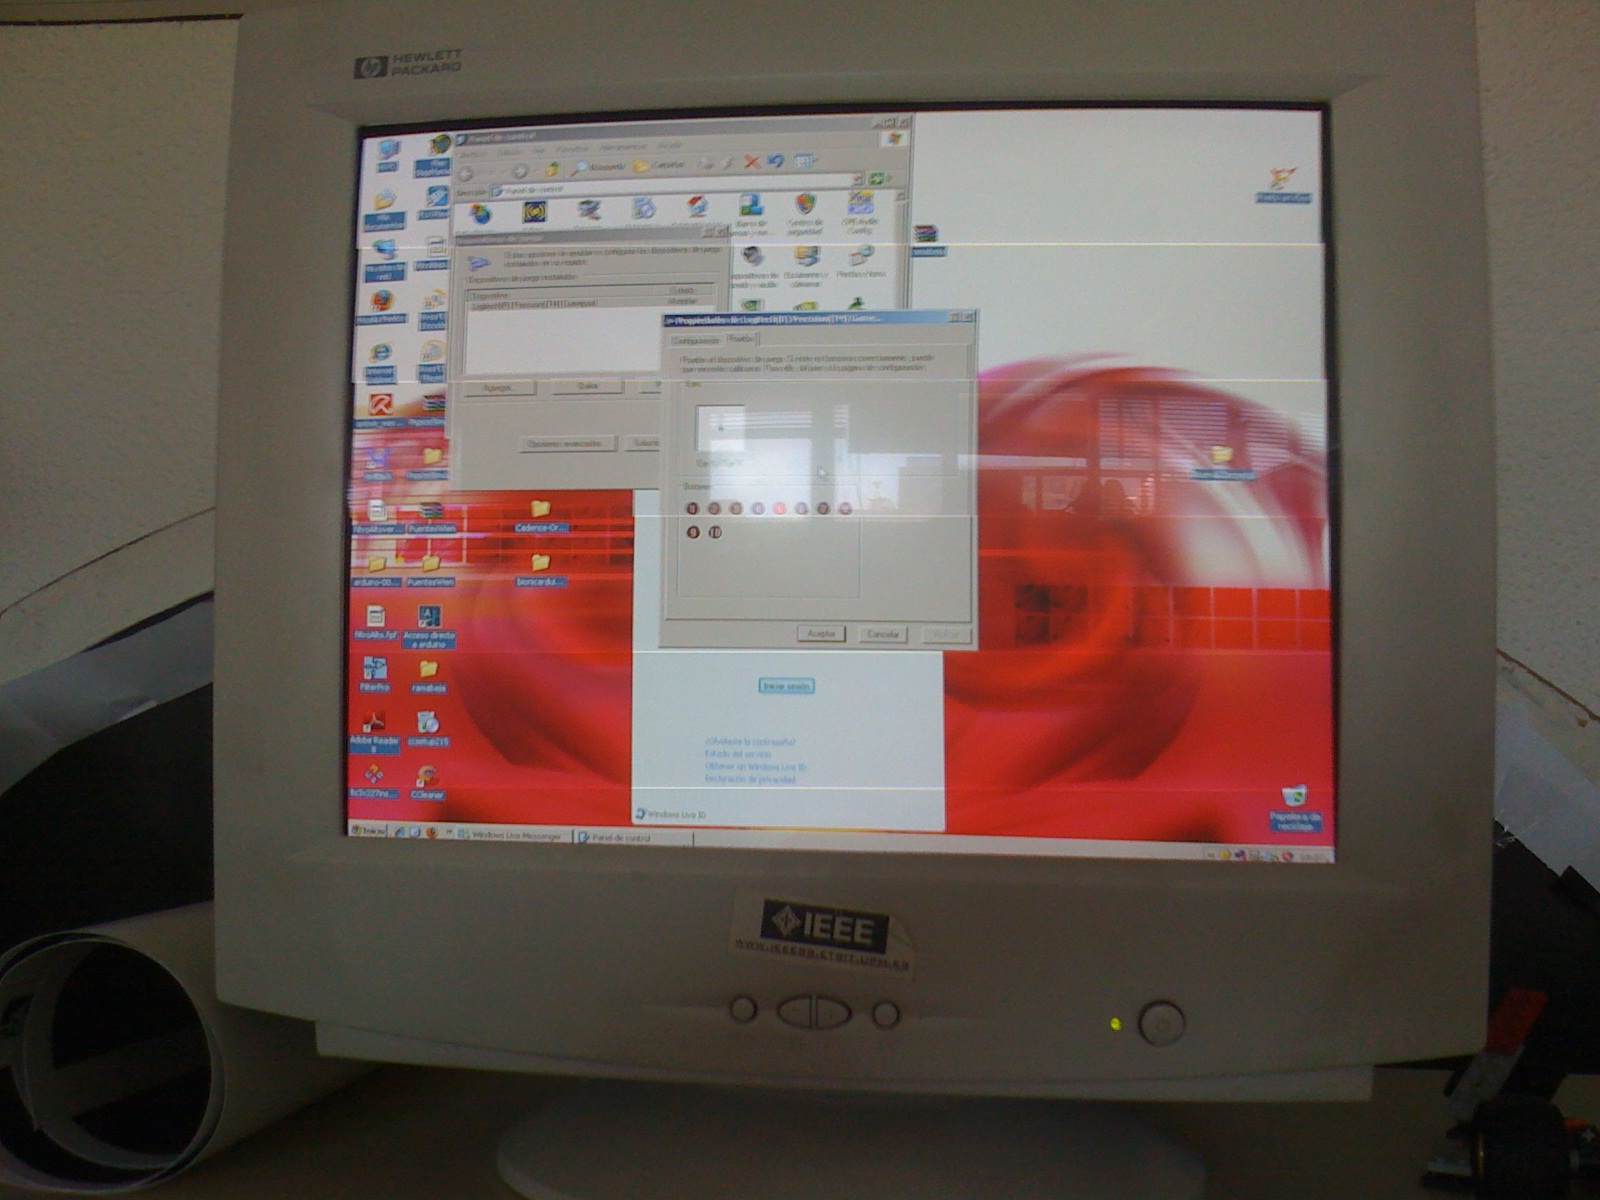
Next, was to take the USB game controller PCB board and wire the controller inputs with the laser PCB board. This would allow us to use the laser and the photoresistors to act as triggers of a user pressing the buttons in the controller. A little testing using the basic interface that windows XP has when detecting the mappings of our input device, allowed us to debug the connections of the pad.
It is alive!! Now, we had to put everything together and do some further working, this of course was quite straight forward and the system got better picture.

With the last tweaks in the pad structure, we managed to get a full working mat and we managed to play some games of DDR in the Student Branch. This was the first version of our working laser dance pad which showed to have better response than normal pads. Still, from time to time, we had to open to recalibrate the laser to maintain the performance of the system.
Once we had the first version working, we started to think how to improve our design and we figured that it would be nice that we could have a modular pad when we wanted to carry the pad from one place to another. This second design involved having ethernet cables connected between the modules to transfer the energy for the lasers to work. Unfortunately, I was not able to do any photographs of that next version.
Finally, to conclude this post; I would like to thank all the people that helped me during the development of this project during my stay in the Student Branch as without their help, this project would have not been possible.